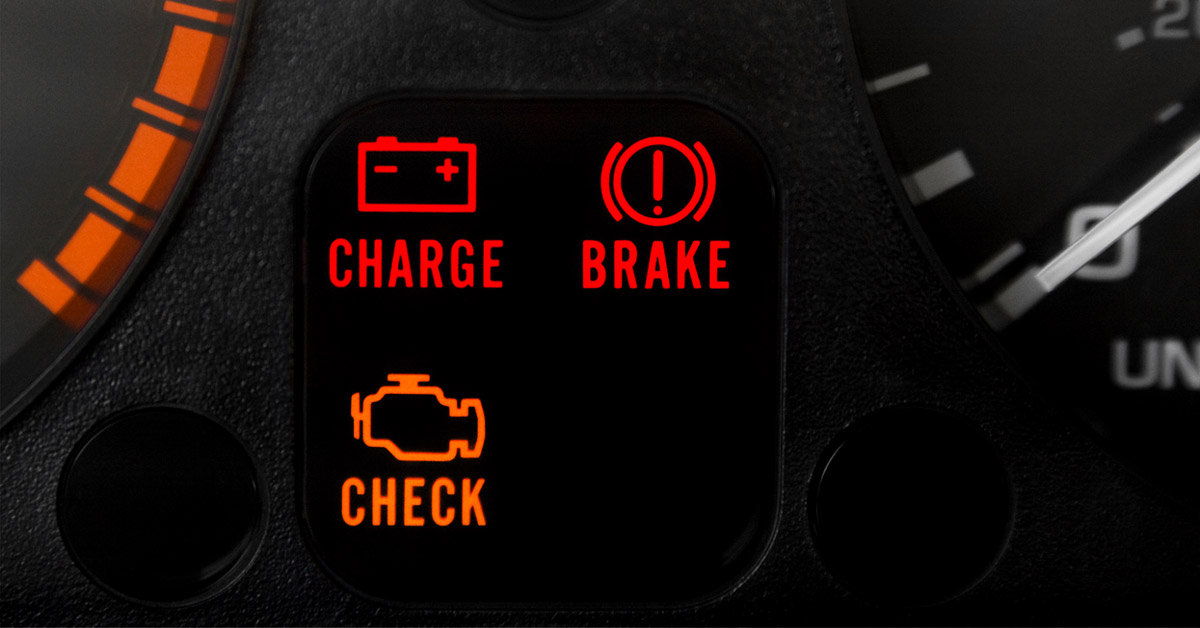
Over time, it’s normal for your car’s headlights to fog and yellow. Not only does this affect your car’s aesthetics, but it can also be a safety hazard. As headlights cloud, their light output reduces, limiting your ability to see. Thankfully, restoring your headlights at home is a simple process, even for those without car maintenance experience.
If your headlights could use a makeover, this guide will cover the basics that you should know about headlight restoration.
What Causes Foggy Headlights?
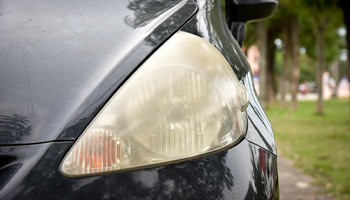
When you purchase a new car, it’s hard not to fall in love with how shiny everything is, especially the lights. Over time, however, your headlights may begin to fog for the following reasons:
- Oxidation: Most headlights are made from polycarbonate plastic. While highly durable, the material slowly reacts to UV rays from the sun. This causes tiny cracks in the material, resulting in a yellow, cloudy appearance.
- Weather: Car manufacturers apply a film coating on headlights to protect the plastic. However, exposure to different weather conditions can slowly cause the coat to wear off.
- Dirt and chemicals: Because they’re at the front of your vehicle, your lights come in contact with whatever is pushed up from the road. This can cause a layer of dirt and chemicals to build, resulting in a yellow tint.
How to Restore Yellowed Headlights
To restore your headlights, you can take a few different routes. However, suppose your headlights are extremely foggy and yellow. In that case, you’ll need to follow the sanding method below to restore your headlights permanently.
During your search, you may have encountered simpler methods, such as using toothpaste, baking soda, or vinegar to restore your lights. While these methods may temporarily fix the issue, the yellow and fog will reappear after only a short period.
Step 1. Gather Your Supplies
You’ll need to head to your local auto or hardware store for the following supplies to restore your headlights using the sanding method:
- Warm soapy water
- Water spray bottle
- Microfiber cloths
- Painter’s/masking tape
- Sandpaper sheets (800, 1,500 and 2,500-grit)
- Plastic polishing compound
- Headlight UV-resistant sealant
Note: You can also purchase a headlight restoration kit, which will include all of the materials above. We recommend a Sylvania Headlight Restoration Kit ($20), or a 3M Headlight Lens Restoration System ($30), as these are both highly rated. The 3M kit comes with a standard power drill attachment, which could make sanding easier.
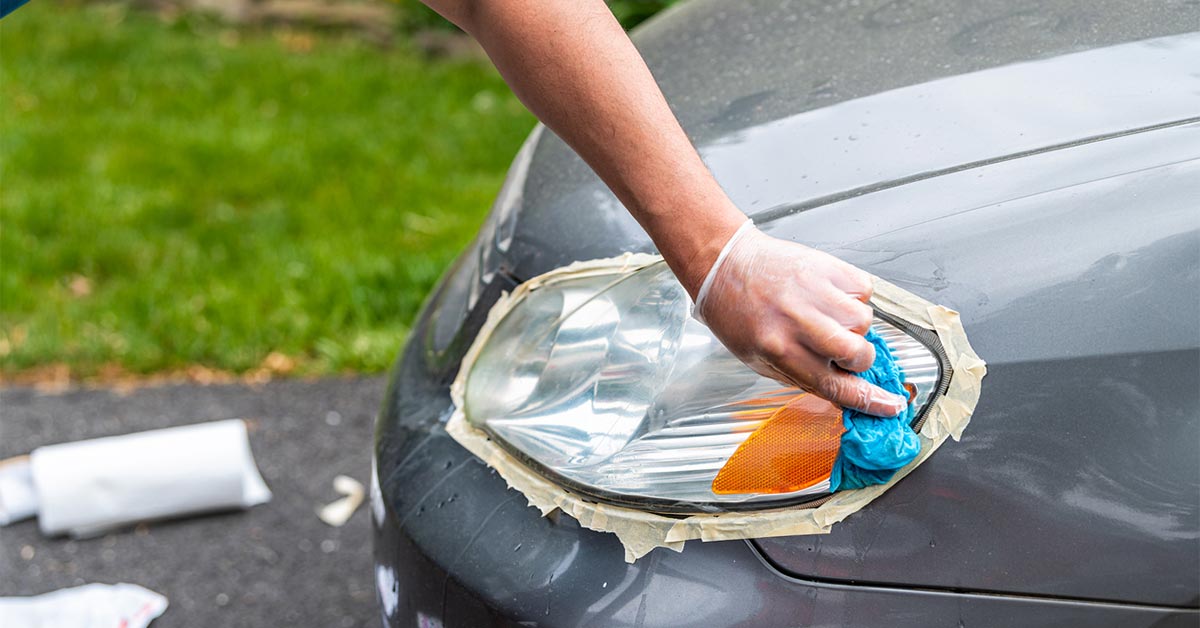
Step 2. Clean Your Headlights
Before you begin sanding, cleaning off any dirt or debris on your headlights is vital. Use some soapy water to clean your headlight’s lenses and surrounding areas, then dry using a microfiber cloth.
Step 3. Apply Tape
When sanding, it’s possible to scratch your vehicle’s paint if your hand slips accidentally. To prevent an additional auto problem, sufficiently tape off the area around your headlights. Applying two strips of tape should be enough but use more if you’d like a greater barrier.
Step 4. Begin Sanding Your Headlights
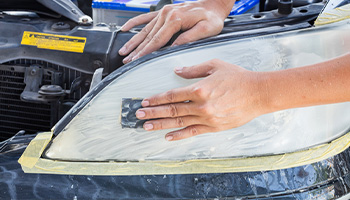
Once you’ve cleaned and taped off your headlights, it’s time to begin sanding. This part will require a bit of elbow grease and time, so we recommend grabbing a stool or chair to sit on while working.
To restore your headlights, you’ll need a few different grits of sandpaper to remove the oxidized plastic properly. First, we’ll begin using the coarsest sandpaper (lowest number, or 800-grit), then work our way to the finest (highest number, or 2,500-grit).
- First, sand using 800-grit sandpaper: Begin by applying a bit of water to your headlight and sandpaper. Once wet, begin sanding your oxidized headlights in a horizontal, east-to-west direction while applying pressure. Continue to work in the same direction the whole time while keeping the surface damp. For heavily oxidized lights, you may use up to 400-grit sandpaper.
- Next, sand using 1,000-grit sandpaper: Once all the yellowing has been removed, clean off your headlight and switch over to the 1,000-grit sandpaper. Apply water to your headlights and sandpaper, then begin sanding in a vertical, north-to-south direction. It’s essential to sand in a different direction each time to buff out any peaks left over from the previous step.
- Finally, sand using 2,500-grit sandpaper: At this point, your headlights should be much clearer. Clean off your headlight and switch to the 2,500-grit sandpaper. Apply water then begin sanding once again, this time following a horizontal, east-to-west direction. This final sanding phase should take the least amount of time. Once your headlight is clear and smooth, move on to the next step.
Step 5. Apply Polishing Compound
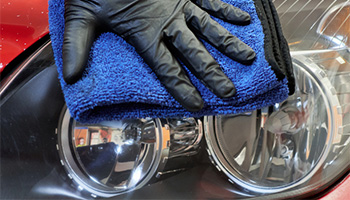
After sanding, your headlights should look almost perfect. To get their new car sparkle back, you’ll need to clean and polish them. Using your microfiber cloth, clean off any excess debris on your headlights. Add your polishing compound to a cloth and begin rubbing the polish in for a few minutes using a circular motion. If you have the tools, you could use a cotton buffing wheel for this step, but don’t feel pressured to purchase one.
Step 6. Apply UV Sealant
By now, your headlights should be looking brand new. But before finishing the job, there’s still one crucial step left: applying UV sealant.
When sanding, you remove your headlight’s old, oxidized sealant. Applying new UV sealant will prevent your hard work from going to waste and will keep your headlights from fogging up again. Be sure to carefully follow the directions on your UV sealant or kit, as different products may have varying application instructions.
AIS Helps Keep Your Car Protected
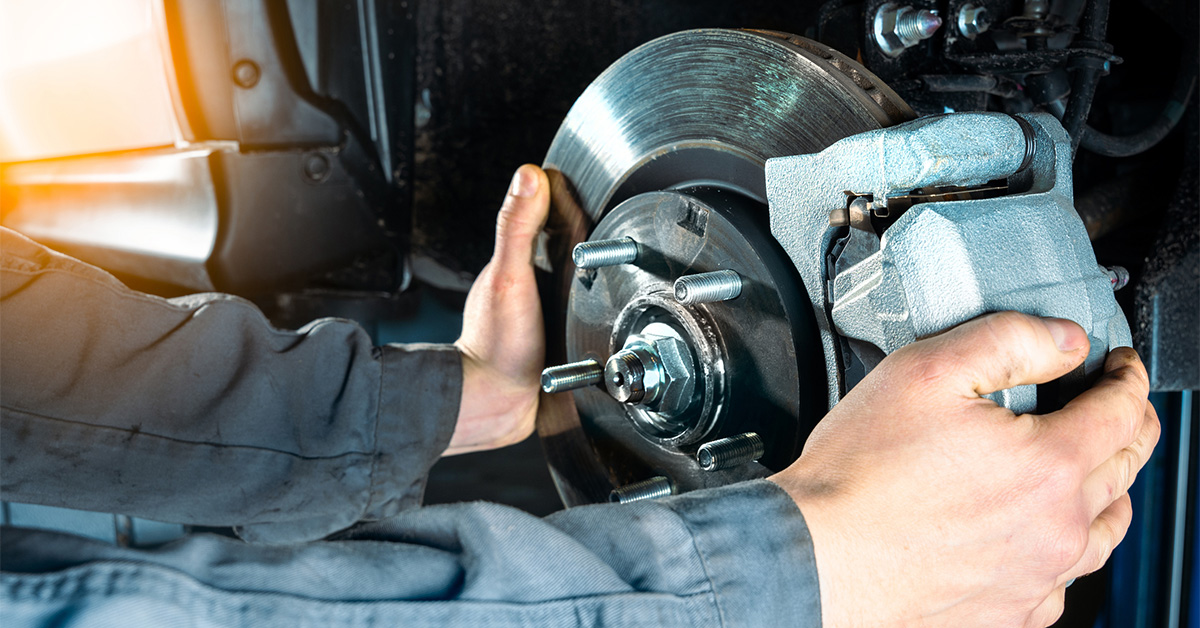
Regular maintenance on your vehicle can help it perform at its best and is just as important for driver safety. Foggy headlights can limit your ability to see the road, especially during poor weather conditions. If involved in an accident, having the right insurance in place can help simplify repairing or replacing your vehicle.
At AIS, we have over 50 years of experience helping drivers find the best combination of coverage and price when it comes to auto insurance. Our insurance specialists can assist you with comparing quotes from our network of insurance partners, helping you find the best deal. To learn more about how AIS can help you, give us a call today at (888) 772-4247, or start a quote online.
The information in this article is obtained from various sources and is offered for educational purposes. Furthermore, it should not replace manuals or instructions provided by the manufacturer or the advice of a qualified professional. No warranty or appropriateness for a specific purpose is expressed or implied.